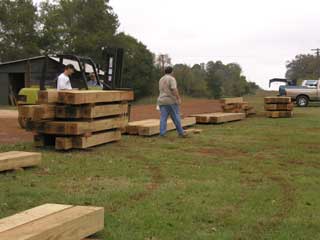
All of the timbers for the home have been cut and are now in the dry kilns. Both
kilns are operating at maximum capacity. We are well into the frame fabrication.
|
Keith and Will are unloading the second batch of timbers from the dry kiln and setting
them up so that the timbers can be planed in the Yates Model 14 Timber Sizer. At
this point, the timber surface is very rough. Sizing will ensure a square timber
and make the first dimensional cut. All of the timbers came out of the kiln in very
good condition with about 17% residual moisture content.
|
|
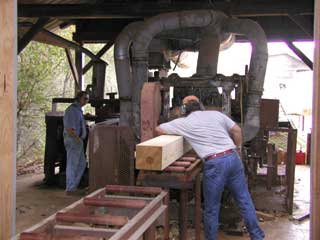
Richard and Doug can be seen here "sizing" or planing the load of timbers.
You can already see the smoother finish on the timber and the heart is plainly visible.
All of the timbers came through the planing operation in good shape. From here,
they will be stored in the layout barn until Doug and Richard can physically "layout"
the joinery dimensions.
|
|
|
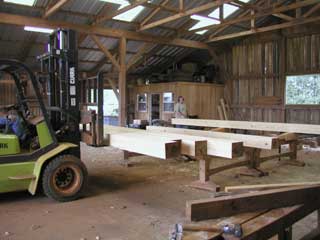
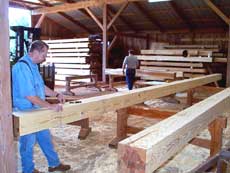
Once the timbers have been planed, they are moved to into storage in the Layout
Barn. Here Keith is positioning several large timbers for the layout operation.
We use these massive sawhorses seen at left to support the timbers. At this point,
these timbers weigh about 800 lbs.
|
|
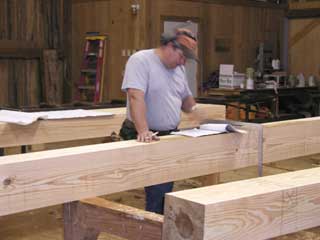
Here Doug is studying the plans to make sure he has the correct timber for the portion
of the frame he is fabricating. Once the timber is correctly identified, he will
evaluate it to determine which side should face the wall and which end should go
down. Once this is done, he will "layout" the actual joinery on the wood
surface using his square and pencil.
|
|
|
Once the initial layout work is done, Richard takes the plans and checks Doug's
work to ensure it is accurate. Richard assumes that Doug did it wrong so all the
dimensions and cut lines are measured against the plans. We always use a two man
checking process at critical stages so that no one checks his own work. It just
works better that way.
|
|
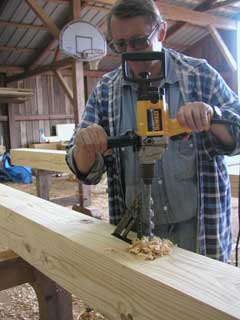
After the layout passes inspection, the peg holes are drilled where mortise joints
will be cut. Drilling is a precise operation and Richard is using a carpenter's
square to ensure that the hole is drilled perpendicular to the timber face. Drilling
the hole at an angle makes the joint very difficult to construct and almost impossible
to assemble. If the mortise had already been cut, the drill could slip in the mortis
causing an inaccurate alignment.
|
|
|
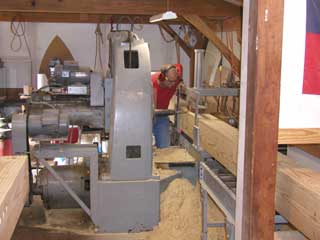
The first load of timbers with layout markings and peg holes drilled is moved into
the Timber Shop. Here Kevin is using Mr. Mortiser to make the initial mortis cuts
on the timber face. The machine is actually a specially built horizontal mill that
precisely removes the proper amount of wood from the mortise joint.
|
|
In this close up shot you can see Kevin following the layout marks drawn on the
timber face by Doug and Richard. Removing most of the wood from a mortise using
this machine greatly speeds the work and keeps the crew from wearing themselves
out cutting mortise joints. The final portion of the work is done by hand as you
will see later. This particular cut is for a purlin.
|

|
|
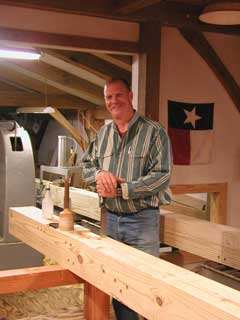
Kevin is finishing out some of the mortis joints. All of the joinery is finished
out by hand to ensure an accurate fit. It is very time consuming but the level of
quality and fit is easily seen. If we don't cut it right, it wont fit right... or
maybe not at all! We take a lot of care to do it right.
|
|
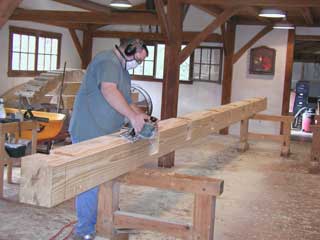
Here you can see Will working on an edge bevel with the hand planer. Notice that
all of the mortis joints have been finished. This timber is about 20' long and contains
seven individual mortis joints.
|
|